Can you truly harness the power of your Raspberry Pi from anywhere, at any time? The answer is a resounding YES, and mastering remote management is the key to unlocking its full potential.
In today's increasingly interconnected world, the ability to control a device like the Raspberry Pi from afar isn't just convenientit's essential. Imagine the possibilities: updating software on a remote weather station, troubleshooting a smart home hub, or simply accessing your personal projects without being physically present. Effective remote management transforms the Raspberry Pi from a hands-on project into a truly versatile tool, opening doors to new levels of productivity and innovation.
This guide offers a comprehensive exploration of the techniques and tools needed to master remote Raspberry Pi management. We'll delve into the intricacies of SSH, VNC, and web-based solutions, equipping you with the knowledge to confidently control your device from any corner of the globe. Whether you're a seasoned developer, a curious hobbyist, or a professional seeking to optimize your workflow, this article will provide the insights you need to succeed.
- Snoop Doggs Crip Walk History Moves Amp Cultural Impact
- Shadow Milk Cookie Plush The Ultimate Guide For Fans Collectors
The methods explored herein provide flexibility and control. Utilizing these tools and methods can significantly improve efficiency in handling tasks such as system monitoring, script execution, or application deployment, all without the need for direct physical interaction with the device. In the modern era of fast-paced digital advancements, the significance of remote management should not be overlooked. By refining your strategies for remote management, valuable time and resources are conserved, and simultaneously, you guarantee the operational readiness and security of your Raspberry Pi devices. Regardless of whether you are administering a solitary unit or a network of Raspberry Pis, a thorough understanding of the available tools and techniques will be pivotal in refining your workflow and optimizing performance.
Let's begin with a deep dive into the core concepts and essential tools.
- Introduction to Remote Management
- Tools for Remote Management
- SSH for Remote Access
- VNC for Graphical Access
- Setting Up SSH
- Configuring VNC
- Web-Based Management Options
- Network Configuration
- Security Best Practices
- Troubleshooting Common Issues
- Use Cases for Remote Management
- Conclusion
Understanding the Importance of Remote Management
Remote management, at its core, is about taking control of your Raspberry Pi from a distance. This involves using various tools and protocols to perform tasks without being physically present. This capability is particularly advantageous when dealing with software updates, troubleshooting issues, or keeping tabs on system performance. The benefits are amplified when the device is deployed in a remote location or integrated into a larger network.
- Unpacking The Smitty Werbenjagermanjensen Phenomenon Origins Impact
- 191xt The Ultimate Online Gaming Platform Features Review
The reasons for prioritizing remote management are manifold. Firstly, it provides the ability to complete tasks from any location globally, thus saving considerable time and effort. Secondly, it boosts security by allowing constant monitoring and modification of device configurations. Finally, it facilitates adaptability, enabling smooth transitions in response to evolving needs and environments. Whether managing a single unit or an extensive network, the benefits are undeniable.
Exploring Essential Tools for Remote Management
SSH
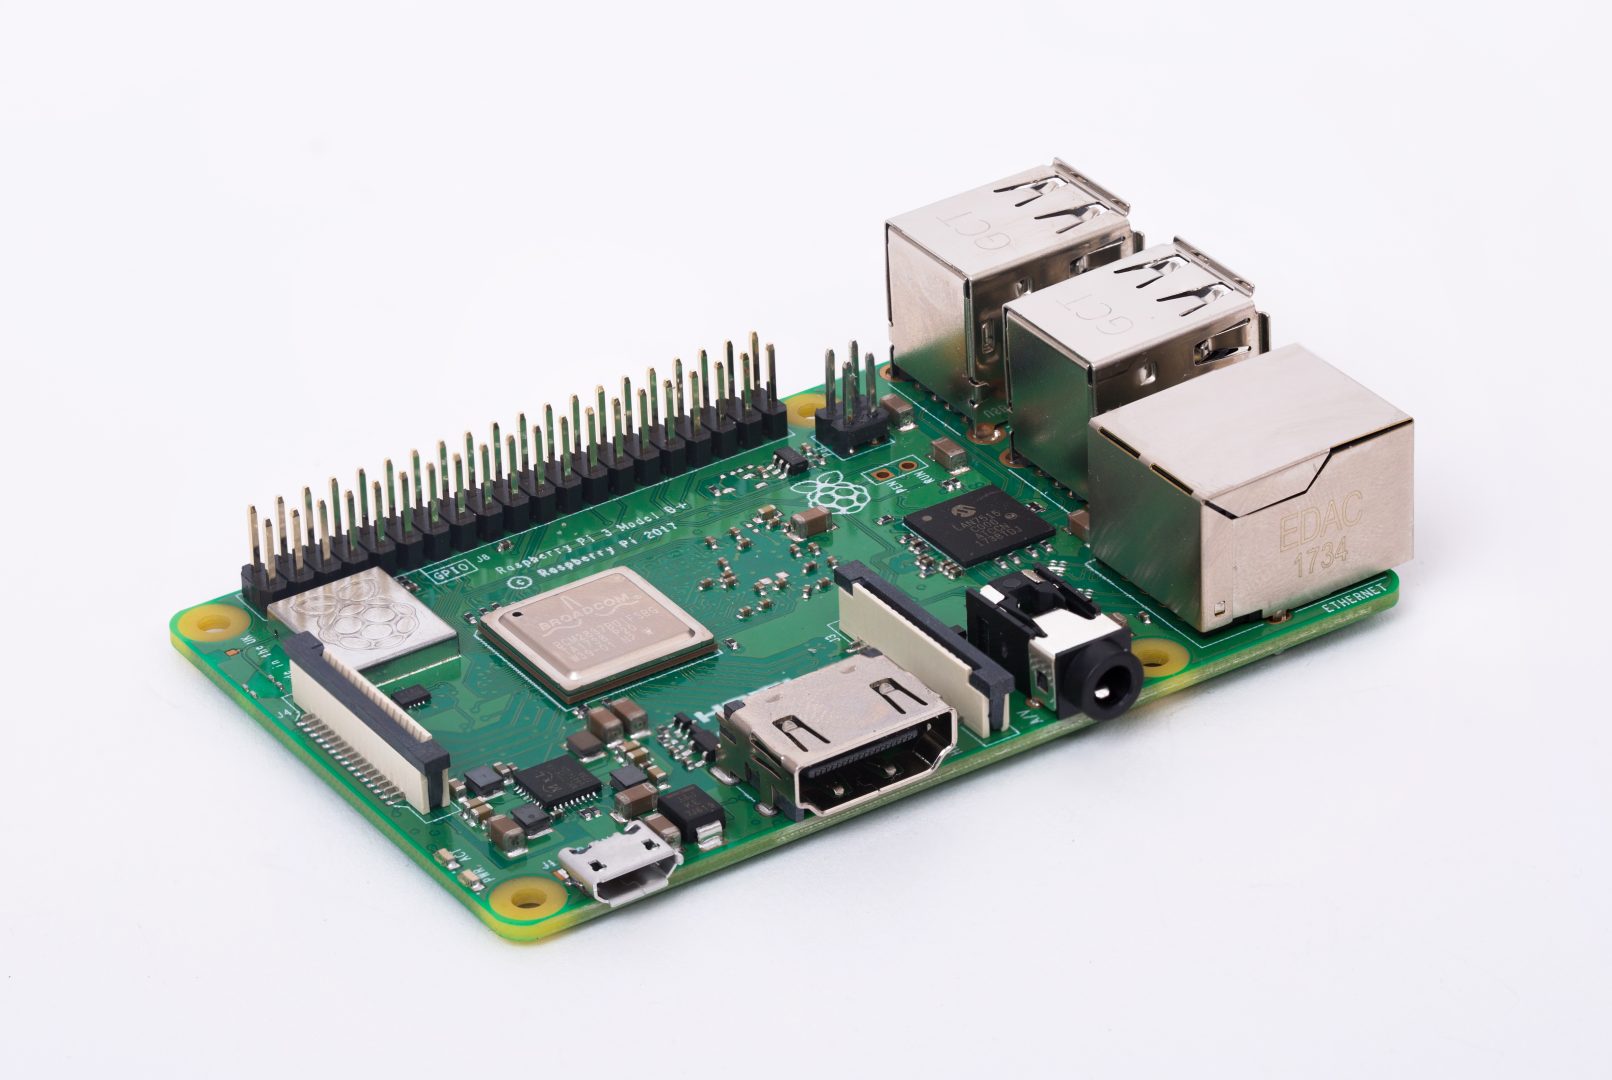
Secure Shell (SSH) stands as a cornerstone of remote Raspberry Pi management. It provides a secure and encrypted pathway between your local machine and the Raspberry Pi, allowing for command execution, file transfers, and configuration management with relative ease. SSH requires enablement on the Raspberry Pi, after which you can connect using an SSH client on your primary device.
SSH's advantages are noteworthy:
- It offers a highly secure connection, bolstered by strong encryption.
- Setup and usage are remarkably simple.
- It efficiently supports command-line operations, enabling powerful control.
VNC
Virtual Network Computing (VNC) is another powerful tool, particularly when graphical access to your Raspberry Pi is required. VNC enables you to view and interact with the desktop environment of your Raspberry Pi as if you were sitting directly in front of it. This functionality is invaluable for tasks that necessitate a graphical interface, such as running applications or managing settings.
Key features of VNC include:
- Complete access to the graphical interface.
- Seamless mouse and keyboard input functionality.
- Compatibility across a wide array of operating systems.
To further understand the different options, here is a comparison table:
| Feature | SSH | VNC |
|---|---|---|
| Primary Use | Command-line access, file transfer, configuration | Graphical desktop access, application interaction |
| Connection Type | Text-based, terminal | Graphical, displays desktop |
| Security | Encrypted, secure | Can be encrypted, password protected |
| Resource Usage | Low | Higher (requires more bandwidth) |
| Setup Complexity | Relatively simple | More complex, requires server/client configuration |
| Use Cases | System administration, script execution, remote control | Running GUI applications, remote desktop access |
For additional information, consider consulting resources like the official Raspberry Pi documentation or online tutorials on specific SSH and VNC implementations.
A Step-by-Step Guide to Setting Up SSH
Enabling SSH on your Raspberry Pi is generally a straightforward process, easily accessible through the device's configuration settings or command line. Once enabled, you can use an SSH clientlike PuTTY for Windows or the built-in terminal for macOS and Linuxto connect to your Raspberry Pi.
To establish an SSH connection, you'll need the IP address of your Raspberry Pi and the username and password for the device. Once connected, you can execute commands, transfer files, and manage configurations.
Here's a simplified step-by-step guide:
- Enable SSH: You can enable SSH using the Raspberry Pi Configuration tool (GUI) or using the command line. From the terminal, run `sudo raspi-config`, then navigate to Interface Options and enable SSH.
- Find your Raspberry Pi's IP Address: You'll need this to connect. You can find it by checking your router's connected devices, using the `hostname -I` command in the Raspberry Pi terminal, or using a network scanner.
- Install an SSH Client: If you're on Windows, install PuTTY or another SSH client. macOS and Linux systems typically have a built-in terminal that supports SSH.
- Connect to your Raspberry Pi:
- Using PuTTY (Windows): Enter the IP address in the "Host Name (or IP address)" field, select "SSH" as the connection type, and click "Open."
- Using Terminal (macOS/Linux): Open the terminal and type `ssh pi@`, replacing `` with the IP address. You will be prompted for the password. (The default username is "pi").
- Enter Username and Password: When prompted, enter the username (usually "pi") and password for your Raspberry Pi. The password will not be displayed as you type it.
- You're Connected: You should now see a command prompt, indicating a successful SSH connection. You can now execute commands remotely.
Security note: After enabling SSH, it's highly recommended to change the default password for the "pi" user. Use the `passwd` command in the terminal after connecting via SSH to change the password.
Configuring VNC for Optimal Performance
Setting up VNC involves installing a VNC server and configuring it to permit remote connections. This process can be performed through the package manager on your Raspberry Pi or via the Raspberry Pi Configuration tool. Once installed, you'll customize the VNC server settings, such as setting a password and enabling encryption.
To use VNC, you'll need a VNC client on your local machine. Popular choices include RealVNC Viewer and TightVNC Viewer, both compatible across Windows, macOS, and Linux platforms.
Here's a simplified guide to setting up VNC:
- Install a VNC Server: The most common VNC server for Raspberry Pi is RealVNC Server, which is often pre-installed. If not, you can install it using `sudo apt update` and `sudo apt install realvnc-vnc-server`.
- Configure the VNC Server:
- Via the GUI: If you have a monitor connected, open the Raspberry Pi Configuration tool and enable VNC in the "Interface Options" tab. You will be prompted to set a password.
- Via the Terminal (Command Line): You can configure VNC settings, including password, screen resolution and security.
- Find your Raspberry Pi's IP Address: As with SSH, you'll need the IP address to connect.
- Install a VNC Client: Download and install a VNC client on your computer. RealVNC Viewer is a popular choice and is available for free.
- Connect to your Raspberry Pi using the VNC Client: In the VNC client, enter the IP address of your Raspberry Pi followed by `:1` or `:0` (e.g., `192.168.1.100:1`). You might need to enter the port information as well.
- Enter your password: You will be prompted for the VNC password you set up.
- You're Connected: You should now see the desktop environment of your Raspberry Pi. You can control the desktop and interact with it just as if you were sitting in front of it.
Discovering Web-Based Management Solutions
Beyond SSH and VNC, a range of web-based tools is available for remotely managing your Raspberry Pi. These tools supply a browser-based interface, providing straightforward control from any device with an internet connection. Popular options include:
- WebIOPi: Designed for controlling GPIO pins through a web interface.
- Node-RED: A flow-based programming tool, ideal for IoT applications.
- OpenHAB: A home automation platform with web-based control.
These options are particularly advantageous for those involved in IoT or home automation projects, offering enhanced functionality and increased convenience. These platforms often include user-friendly dashboards that provide a visual overview of your Raspberry Pi's status and enable effortless control over connected devices.
Ensuring Effective Network Configuration
Proper network configuration is paramount for successful remote Raspberry Pi management. This includes setting a static IP address, configuring port forwarding (if needed), and ensuring network security. A static IP guarantees the Raspberry Pi consistently retains the same address, simplifying remote connections. Port forwarding allows you to access your Raspberry Pi from outside your local network, while security measures like firewalls and encryption protect your device from unauthorized access. The network setup is a critical step in achieving remote management, allowing access from anywhere.
Configuring your network involves several key steps:
- Static IP Address: This ensures your Raspberry Pi always has the same IP address on your local network. You can configure this in your router's settings or on the Raspberry Pi itself (though the router method is generally preferred).
- Port Forwarding (for External Access): If you want to access your Raspberry Pi from outside your local network (e.g., over the internet), you'll need to configure port forwarding on your router. This directs incoming traffic on a specific port (e.g., port 22 for SSH, port 5900 for VNC) to your Raspberry Pi's internal IP address. Make sure to use different ports for security reasons.
- Firewall: Your Raspberry Pi has a built-in firewall (iptables). You can configure it to allow or deny traffic on specific ports.
- Security Best Practices (covered later): Using strong passwords, enabling encryption (e.g., SSH encryption), and keeping your software updated are crucial for network security.
Adhering to security best practices is essential for maintaining a secure and reliable setup. This includes employing strong passwords, enabling encryption, and regularly updating software and firmware.
Implementing Security Best Practices
Robust security is critical for any remote access setup. To safeguard your Raspberry Pi from unauthorized access, implement these best practices:
- Strong, Unique Passwords: Use strong, unique passwords for your Raspberry Pi user accounts and any associated services (SSH, VNC, etc.). Avoid easily guessable passwords.
- Enable Encryption: Ensure encryption is enabled for SSH and VNC connections. SSH uses encryption by default. For VNC, configure it to use an encrypted connection (RealVNC Server provides this option).
- Regularly Update Software and Firmware: Keep your operating system, applications, and firmware up to date with the latest security patches. Use `sudo apt update` and `sudo apt upgrade` regularly.
- Employ a Firewall: Configure a firewall (e.g., `iptables` on Linux) to restrict access to your Raspberry Pi. Only allow connections on the necessary ports (e.g., SSH port 22).
- Change Default SSH Port (Optional): Changing the default SSH port from 22 to a non-standard port can help deter automated attacks, but it should be considered as an extra measure of security rather than a primary defense.
- Two-Factor Authentication (Optional): For increased security, consider implementing two-factor authentication (2FA) for SSH access. This adds an extra layer of protection by requiring a verification code from a secondary device.
- Disable Root Login via SSH: It is recommended to disable direct root login via SSH, further minimizing potential security vulnerabilities.
By implementing these measures, you significantly reduce the risk of unauthorized access and enhance your device's overall security posture.
Addressing Common Issues in Remote Management
Despite meticulous planning, issues can arise in remote management. Common challenges include connection failures, sluggish performance, and security breaches. A comprehensive troubleshooting plan is essential. This might involve reviewing network settings, verifying software updates, and scrutinizing security configurations.
Here are some practical troubleshooting tips:
- Verify IP Addresses and Port Settings: Double-check that you're using the correct IP address and port numbers for your Raspberry Pi and any services (SSH, VNC).
- Check Firewall and Router Configurations: Ensure that your firewall and router settings allow traffic on the necessary ports.
- Test Connections with Different Clients or Devices: Try connecting from different devices or using different SSH/VNC clients to isolate the problem.
- Ping the Raspberry Pi: Use the `ping` command from your local machine to check if your Raspberry Pi is reachable on the network.
- Check the Raspberry Pi's Logs: Examine the system logs on the Raspberry Pi (e.g., `/var/log/auth.log`, `/var/log/syslog`) for error messages that may provide clues about the problem.
- Reboot the Raspberry Pi: Sometimes, a simple reboot can resolve temporary issues.
- Reinstall the SSH or VNC server: This can fix corrupted files.
Exploring Practical Use Cases for Remote Management
Remote Raspberry Pi management finds diverse applications across industries and scenarios. Some common examples include:
- Home Automation: Controlling smart home devices and systems remotely.
- IoT Projects: Managing sensors, cameras, and other connected devices in remote locations.
- Remote Monitoring: Tracking system performance, environmental data (temperature, humidity), and device health.
- Development and Testing: Testing and deploying applications remotely on a Raspberry Pi. This is particularly useful for embedded systems and IoT projects.
- Media Servers: Managing media libraries, streaming content to other devices.
- Education and Training: Providing remote access to Raspberry Pi devices for students or trainees.
- Robotics: Controlling and monitoring robots.
These varied applications highlight the versatility and power of remote management, making it a key skill for anyone working with this device.
- Exploring The Back Of Spencers History Architecture Future Trends
- Alexandra Daddarios Bikini Moments Stunning Looks Style Evolution