Is it possible to securely access your Raspberry Pi from anywhere in the world without spending a dime, even when it's nestled behind the protective wall of a NAT router? The answer is a resounding yes, and this guide will show you how.
In today's interconnected world, the ability to remotely access a Raspberry Pi has become an essential skill for tech enthusiasts, hobbyists, and professionals alike. Whether you're a seasoned server administrator, a budding home automation guru, or simply someone who enjoys tinkering with technology, the versatility of a Raspberry Pi is undeniable. However, the complexities of network configurations, particularly when dealing with NAT routers, can often feel like an insurmountable hurdle. This comprehensive guide will demystify the process of remote SSH into your Raspberry Pi from your Mac, even when it's behind a NAT router, offering a clear, step-by-step approach to ensure secure and efficient connectivity. This tutorial aims to empower you with the knowledge and skills necessary to achieve remote access without incurring any costs, enabling you to manage your projects and devices with ease.
The following table provides a concise overview of the key aspects of Remote SSH access to a Raspberry Pi. It encompasses crucial details, including core concepts, preparatory steps, and valuable resources for comprehensive understanding and effective implementation.
- Brooke Monk Secrets Of Her Natural Beauty Revealed
- Honey Pine Makeup Your Guide To Natural Beauty Skincare
| Topic | Details |
|---|---|
| What is SSH? | SSH (Secure Shell) is a cryptographic network protocol used for secure data communication, remote command execution, and other secure network services between two networked computers. It is designed to provide a secure and encrypted channel over an unsecured network. |
| Why use SSH for Remote Access? | SSH provides encryption, authentication, and compatibility across various operating systems, ensuring secure and private communication between devices. It offers a robust method for securely accessing and managing your Raspberry Pi remotely. |
| Key Terminology | Client (Mac), Server (Raspberry Pi), Port (22 is the default SSH port, can be customized). |
| Preparing the Raspberry Pi |
|
| Mac Configuration |
|
| Understanding NAT | NAT (Network Address Translation) allows multiple devices to share a single public IP address. Understanding NAT types (Full Cone, Restricted Cone, Port-Restricted Cone, Symmetric) helps in setting up remote access. |
| Port Forwarding | Configure your router to forward port 22 (or the port you chose) to your Raspberry Pi's local IP address. |
| Tools to Bypass NAT |
|
| Security Best Practices |
|
| Troubleshooting |
|
| Reference Website | Raspberry Pi Official Website |
Let's delve into the specifics, ensuring that your journey from novice to remote access aficionado is smooth and efficient. This isn't just about following instructions; it's about understanding the underlying principles that will empower you to troubleshoot, adapt, and ultimately, master the art of remote SSH.
At the core of remote access lies the SSH protocol, Secure Shell, a cryptographic network protocol that provides secure communication between two networked devices over an unsecured network. This is the bedrock upon which all remote access is built. Think of SSH as a secure tunnel, encrypting all the data that passes between your Mac (the client) and your Raspberry Pi (the server). This encryption is crucial; it ensures that any information you send or receive is protected from prying eyes. SSH also provides authentication mechanisms. This means it verifies that you are who you say you are before granting access, protecting your Raspberry Pi from unauthorized intrusions.
The advantages of using SSH are manifold. The encryption ensures confidentiality. The authentication mechanisms ensure that only authorized users gain access. And the compatibility of SSH across various operating systems, including macOS, ensures seamless access.
- Unveiling Legendary Eyes Type Soul Abilities Mysteries
- Ppt Night Ideas To Transform Your Presentations
Before you can begin, your Raspberry Pi needs some preparation. The first step is enabling SSH. By default, SSH is disabled on Raspberry Pi OS for security reasons. This prevents immediate, unauthorized remote access. To enable it, you'll need to access your Raspberry Pi directly, either by connecting a monitor and keyboard or by using an existing SSH connection (if you have one already). Once you have physical access, you can activate SSH.
After successfully enabling SSH, the next critical piece of information is your Raspberry Pi's local IP address. This address is what your Mac will use to locate the Raspberry Pi on your home network. You can discover your Pi's IP address using the ifconfig command in the terminal. The "inet" address under the "wlan0" (Wi-Fi) or "eth0" (Ethernet) section reveals the IP address that your Mac will use to connect to your Pi. It is a private IP address, and it is essential to remember that this is the internal network address of your Raspberry Pi.
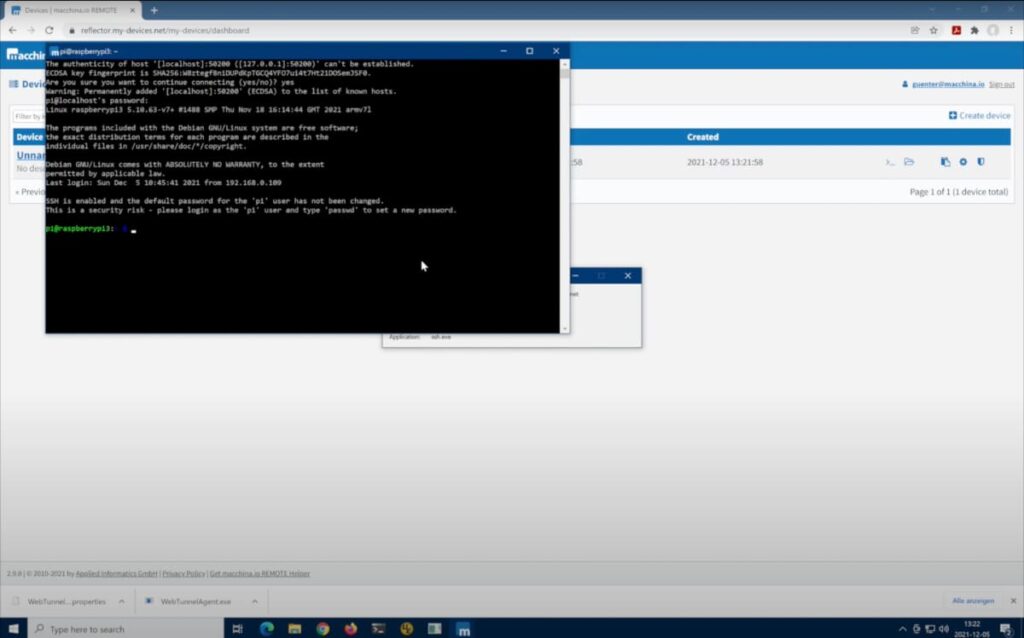
With the Raspberry Pi prepared, the focus shifts to your Mac. Fortunately, macOS comes equipped with a built-in SSH client, eliminating the need for additional software installations. This means that you already have the tools you need to connect to your Raspberry Pi. Open the Terminal app on your Mac, and type the following command: ssh pi@your-raspberry-pi-ip-address, replacing your-raspberry-pi-ip-address with the actual IP address of your Raspberry Pi. For example, if your Raspberry Pi's IP address is 192.168.1.100, the command would be ssh pi@192.168.1.100. When you execute this command, the terminal will prompt you for the password for the "pi" user. The default username is "pi," and the default password is "raspberry," although you should always change this for security reasons.
For even stronger security, especially when you are dealing with remote access, SSH keys provide a more robust and secure alternative to passwords. SSH keys use public-key cryptography, where you generate a pair of keys: a public key and a private key. The public key is placed on the Raspberry Pi, and the private key remains securely on your Mac. When you try to connect, the Raspberry Pi uses the public key to verify your identity, without requiring you to enter a password. To generate an SSH key pair on your Mac, use the command: ssh-keygen -t rsa -b 4096. This will create a new key pair; you can choose a passphrase to protect your private key. To transfer your public key to your Raspberry Pi, run the command: ssh-copy-id pi@your-raspberry-pi-ip-address. This copies your public key to the Raspberry Pi's authorized_keys file, allowing you to authenticate without a password.
Network Address Translation (NAT) is a cornerstone of modern networking, especially in home and small business environments. NAT allows multiple devices on a private network to share a single public IP address. This conserves public IP addresses, which are a limited resource. When your Raspberry Pi is behind a NAT router, it has a private IP address on your local network. Your router, on the other hand, has a public IP address that is visible to the internet. All traffic from your Raspberry Pi to the internet goes through your router, which translates the private IP address of your Raspberry Pi to the public IP address. The router keeps track of these translations, so it knows which device to send incoming traffic to. While NAT is a vital security feature, it can complicate remote access. The problem is that the outside world needs to know how to reach your Raspberry Pi, which has a private IP address.
To address this, you need to set up port forwarding. Port forwarding allows you to map a specific port on your router to a specific device (your Raspberry Pi) on your local network. This is how you tell your router to forward traffic from the outside world (the internet) to your Raspberry Pi. The standard port for SSH is port 22, but you can change this for added security. To configure port forwarding, you'll need to access your router's administration interface. Typically, you can access this by typing your router's IP address (usually 192.168.0.1 or 192.168.1.1) into a web browser. You will be prompted for a username and password, which are often printed on a sticker on the router itself or in the router's documentation. Once logged in, you'll need to find the "Port Forwarding" or "NAT" section in your router's settings. This is where you'll create a new rule. The specific steps vary depending on your router's manufacturer, but the basic information you'll need to provide includes:
- Service Name: You can name this anything, but "SSH" is descriptive.
- External Port: This is the port on the router that will receive the incoming connection. Typically, this is 22.
- Internal IP Address: This is the local IP address of your Raspberry Pi (the one you found using ifconfig).
- Internal Port: This is the port on the Raspberry Pi that SSH is running on. This is usually 22, the same as the external port.
After saving the changes, it is recommended to restart your router to ensure the new settings take effect.
There may be situations where you're unable to configure port forwarding, or your router uses restrictive NAT types. In these cases, you can use tools like ngrok or localtunnel to bypass NAT restrictions. These tools create secure tunnels to your local server, allowing you to expose your Raspberry Pi to the internet without directly configuring your router. They act as intermediaries, forwarding traffic from a public URL to your Raspberry Pi.
ngrok is a popular and versatile option. To use ngrok for SSH, download the ngrok client from the official website. Once downloaded, and after providing your authentication token, you can run the command: ./ngrok tcp 22. This command will create a secure tunnel and provide you with a public URL (a subdomain on ngrok.io) that you can use to connect to your Raspberry Pi. Any traffic sent to that URL will be forwarded to your Raspberry Pi on port 22.
Localtunnel offers similar functionality. First, you'll need to install it using npm (Node Package Manager): npm install -g localtunnel. After installation, you can run the command lt --port 22. This command also creates a secure tunnel and provides a public URL (often a subdomain on localtunnel.me) that you can use to access your Raspberry Pi. Both ngrok and localtunnel provide an easy way to bypass NAT, and offer convenient methods for remote access.
No matter how you set up your remote SSH access, it's essential to prioritize security. The default configuration of SSH, while functional, is not always the most secure. The first and most important step is to change the default SSH port (22). This simple change can significantly reduce the risk of automated attacks. To change the port, you need to edit the SSH configuration file: sudo nano /etc/ssh/sshd_config. Inside this file, you'll find a line that starts with Port 22 (or it might just be Port). Change the number 22 to a higher port number (e.g., 2222, 50000, or any number above 1024 and below 65535). Then, restart the SSH service to apply the change: sudo service ssh restart.
Another essential security measure is disabling password authentication and relying solely on SSH keys. Password-based authentication is vulnerable to brute-force attacks, where attackers repeatedly try different passwords until they guess the correct one. SSH keys are much more secure. To disable password authentication, edit the SSH configuration file again: sudo nano /etc/ssh/sshd_config. Find the line that says PasswordAuthentication yes, and change it to PasswordAuthentication no. Then, restart the SSH service. Now, you'll only be able to log in with SSH keys.
Even with careful setup, you might encounter issues. A common error is "Connection refused." This means your Mac is unable to connect to your Raspberry Pi's SSH service. The most common causes are: the Raspberry Pi's SSH service is not running, port forwarding is not correctly configured on your router, or a firewall is blocking the SSH port. To troubleshoot, verify that the SSH service is active on your Raspberry Pi (you can try restarting it). Double-check that your port forwarding rules are set up correctly in your router's settings. Ensure that no firewalls (on your Mac or Raspberry Pi) are blocking the SSH port (22 or whatever port you've chosen).
Another common problem is timeout errors. These errors mean that your connection is timing out before it can be established. This often indicates a network connectivity issue. To troubleshoot, first, verify that your Raspberry Pi's IP address hasn't changed. Check your router's public IP address. If it changes, your port forwarding will no longer work. If you have a dynamic IP address from your ISP, consider using a dynamic DNS service to update your router with the current IP address automatically. By systematically checking these points, you should be able to identify and resolve the issue.
- New Spanish Anime Movies 2025 Your Ultimate Guide
- Shadman Keemstar From Youtube Pioneer To Industry Icon