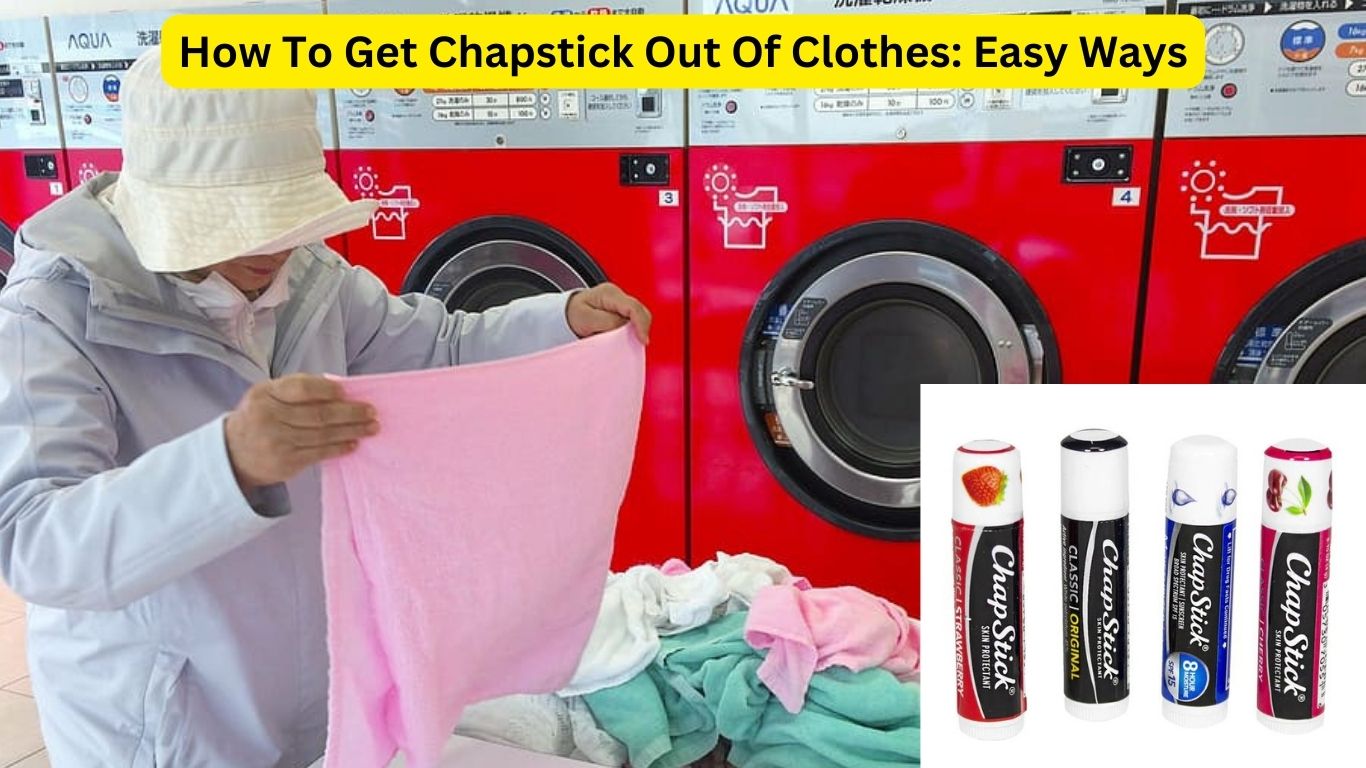
Ever found yourself staring down at a dreaded chapstick stain on your favorite shirt? Fear not! Removing chapstick from fabric doesn't have to be a stain-induced crisis. This guide is your ultimate resource for vanquishing those pesky marks and reclaiming your clothes. With the right knowledge and a touch of elbow grease, you can banish chapstick stains and restore your garments to their former glory.
Chapstick, the unsung hero of lip care, is a staple in many of our lives, battling chapped lips and dry skin. Its versatility, however, can sometimes lead to unintended consequences, like unwelcome grease spots on clothing. This seemingly innocuous product, designed to moisturize, can leave behind a greasy residue that stubbornly clings to fabric fibers. Many individuals find themselves frustrated by these stubborn stains, often resorting to harsh chemicals or, worse, giving up altogether. But take heart! There are proven, safe, and effective methods for tackling these stains, saving your clothes and your sanity.
| Understanding Chapstick Stains: A Deep Dive | |
|---|---|
| Cause of Stain | Greasy and waxy ingredients in chapstick (petroleum jelly, beeswax, oils) penetrate fabric fibers. |
| Difficulty | Challenging due to the stain's composition: oily, waxy, and potentially containing dyes. |
| Factors Impacting Removal |
|
| Key Challenge | Lifting the grease without damaging the fabric or setting the stain further. |
For further information, you can consult the American Cleaning Institute website: www.cleaninginstitute.org
This article breaks down the complexities of chapstick stains, offering actionable strategies, expert tips, and practical solutions for various fabric types. Whether your wardrobe is filled with cotton t-shirts, delicate wool sweaters, or modern synthetic garments, this comprehensive guide will provide you with the knowledge and confidence to eliminate those frustrating chapstick mishaps. Remember, swift action and the correct approach are the cornerstones of successful stain removal. So, let's embark on this journey together and turn those chapstick-stained nightmares into distant memories.
What is Chapstick?
Chapstick's primary role is to provide a protective shield and hydration for our lips. It's a blend of carefully chosen ingredients designed to combat dryness and chapping. This seemingly simple product contains a mixture of waxes, oils, and emollients. While excellent for lip health, this formulation can create difficulties when it comes into contact with clothing, leaving behind tenacious stains. The greasy composition of chapstick makes it cling to fabric, leading to persistent marks that can be challenging to remove.
The backbone of chapstick's effectiveness lies in its core components, including petroleum jelly, beeswax, and often, a delicate fragrance. These components are crucial for its intended purpose but also play a significant role in the difficulty of removing chapstick stains. Understanding the composition of chapstick is critical when selecting the right cleaning agents and techniques. This knowledge gives you a strategic advantage in the battle against these persistent stains.
- Bluey Pinatas Your Ultimate Guide To A Fun Celebration
- Citys Boy Is Chelseas Man Transfer Impact Analysis
Why Is It Difficult to Remove Chapstick Stains?
The tenacious nature of chapstick stains is primarily due to their oily and waxy composition. Grease is notorious for its ability to penetrate deeply into fabric fibers, making removal a delicate undertaking. Traditional cleaning methods often struggle to lift the stain without the proper treatment. Furthermore, chapstick can contain pigments or dyes that can discolor the fabric if not addressed promptly and efficiently. This is why understanding the composition and having the correct cleaning approach is key.
Factors That Complicate Chapstick Stain Removal
- Fabric Type: The fabric's weave and fiber structure directly influence how the chapstick interacts with it. Delicate fabrics need gentle treatment, while sturdy materials can handle more vigorous cleaning.
- Age of the Stain: Fresh stains are generally easier to remove because the chapstick hasn't had time to fully set. Old stains can be more challenging as the residue may have had time to bond with the fabric fibers.
- Presence of Colorants: Chapsticks with colorants or dyes pose an added challenge, as these pigments can stain the fabric. Careful attention is needed to prevent the color from spreading or permanently discoloring the material.
- Inadequate Cleaning Methods: Using the wrong cleaning agents or techniques can worsen the stain or cause the color to set. Choosing the proper method for the fabric type is crucial for success.
Addressing these factors early on and with the right knowledge and cleaning methods increases the chances of successful stain removal. In the following sections, we will delve into specific techniques and strategies tailored to different fabric types and stain conditions, arming you with the knowledge to tackle any chapstick stain challenge.
Tools and Materials Needed
Before you begin your stain-fighting mission, its essential to gather the necessary tools and materials. Being prepared with the right supplies streamlines the cleaning process, making it more efficient and boosting your chances of success.
Basic Cleaning Supplies
- Dish Soap (preferably grease-cutting): A powerful degreaser is vital for breaking down the oily components of the chapstick.
- Laundry Detergent: Your regular detergent will be used for the final wash, helping to lift any remaining residue.
- White Vinegar: Vinegar is an excellent natural cleaner that can help break down grease and neutralize odors.
- Rubbing Alcohol: This solvent can be effective for dissolving the waxy components in chapstick, especially on synthetic fabrics.
- Clean Cloth or Paper Towels: Essential for blotting and applying cleaning solutions without spreading the stain.
- Soft-bristled Brush: A soft brush is helpful for gently working the cleaning agents into the fabric.
These items are commonly found in most households and are safe for various fabric types. For delicate fabrics or particularly stubborn stains, consider using specialized stain removers, such as those designed for grease and oil, or consult the care label for specific cleaning instructions.
Step-by-Step Guide to Remove Chapstick
Here's a systematic, tried-and-true approach to effectively removing chapstick stains from your fabrics. By following these steps carefully, you can increase your chances of rescuing your clothing and preventing permanent damage.
Step 1
The first step is to remove any excess chapstick that's sitting on the fabric's surface. Using a dull knife, the edge of a spoon, or even a credit card, gently scrape off as much of the chapstick as possible. Work carefully to avoid spreading the stain further or damaging the fabric. This step minimizes the amount of chapstick that has the chance to penetrate the fabric fibers.
Step 2
Apply a small amount of grease-cutting dish soap directly to the stain. The dish soap acts as a degreaser, breaking down the oily components of the chapstick. Gently work the soap into the fabric using a soft-bristled brush or your fingers. Let the soap sit on the stain for approximately 5-10 minutes. This gives the soap time to work its magic.
Step 3
Thoroughly rinse the treated area with warm water. Be sure to use warm water, as hot water can inadvertently set the stain. The rinsing process removes the soap and loosens the stain from the fabric fibers. Ensure all traces of soap are rinsed away; any residue can attract dirt.
Step 4
Soak the stained area in a solution of equal parts water and white vinegar for about 30 minutes. White vinegar is a natural cleaner known for its ability to break down grease and wax. This soak will help dissolve any remaining chapstick residue, helping to get your fabric as clean as possible.
Step 5
After treating with vinegar, wash the fabric in the washing machine using the recommended detergent and water temperature for the specific fabric type. Before placing it in the dryer, carefully check the stained area to ensure the stain is completely gone. The high heat of a dryer can set the stain permanently, so it's important to take a look. If the stain persists, repeat the steps before drying.
Fabric-Specific Methods
The best approach to removing chapstick stains often depends on the fabric type. Understanding the unique properties of various fabrics enables you to apply targeted methods, maximizing the effectiveness of your stain removal efforts. Heres a breakdown of how to approach chapstick stains on some common fabric types:
1. Cotton
Cotton's robust and durable nature makes it a great fabric for most cleaning approaches. When dealing with a chapstick stain on cotton, follow the standard method as described in the step-by-step guide. Be sure to rinse the fabric thoroughly to remove all traces of dish soap. For particularly persistent stains, consider pre-treating with rubbing alcohol before applying the dish soap.
2. Wool
Wool requires gentle treatment to preserve its integrity and prevent damage. Instead of the full step-by-step method, use a delicate approach for wool. First, mix a few drops of mild detergent with lukewarm water. Then, gently blot the stain with a clean cloth soaked in this solution. Avoid soaking wool fabrics, as excessive moisture can cause shrinkage. After blotting, rinse the area with clean, lukewarm water and let it air dry.
3. Synthetic Fabrics
Synthetic fabrics, such as polyester and nylon, often react well to the use of rubbing alcohol. Apply a small amount of rubbing alcohol to a cotton swab and gently dab the chapstick stain until the stain starts to lift. You may need to repeat this process. Then, follow up with the standard method (dish soap, rinsing, vinegar soak, and wash). Always spot-test the rubbing alcohol in an inconspicuous area before applying it to the stain to ensure it does not damage the fabric.
Alternative Methods
In addition to the standard methods, there are alternative techniques that can come in handy for tackling more stubborn chapstick stains. These methods utilize household items and readily available products to enhance your stain-fighting arsenal.
1. Baking Soda Paste
Baking soda is a versatile household staple that can act as a gentle abrasive and absorbent. To use baking soda, create a thick paste by mixing baking soda with water. Apply this paste to the chapstick stain and allow it to sit for approximately 15-20 minutes, giving it time to absorb the grease and lift the stain. Once the paste has dried, rinse the area with warm water and wash the fabric as usual.
2. Commercial Stain Removers
Commercial stain removers specifically designed for grease and oil stains can be effective. These products are formulated to break down and lift oily substances from fabrics. Follow the manufacturer's instructions carefully for optimal results, making sure to test the product on a hidden area of the fabric first to ensure compatibility.
Prevention Tips
As the saying goes, prevention is better than cure. Taking proactive measures to prevent chapstick stains is significantly easier than dealing with them after theyve occurred. Here are some simple yet effective tips that can significantly reduce the likelihood of encountering those frustrating chapstick marks in the future.
- Store chapstick securely: Keep your chapstick in a designated pocket, a purse, or a secure compartment in your bag. This simple step prevents accidental spills and contact with fabrics.
- Use chapstick with minimal color or fragrance: Chapsticks with fewer additives, especially colorants, are less likely to leave noticeable stains. Choose clear, unscented varieties whenever possible.
- Check clothes regularly: Before tossing clothes into the washing machine, take a moment to inspect them for chapstick residue or potential stains. Early detection makes stain removal easier.
By incorporating these simple steps into your routine, you can significantly reduce the risk of future chapstick stain incidents and save yourself valuable time and effort.
Common Mistakes to Avoid
Being aware of common mistakes can greatly improve your success in removing chapstick stains. Avoiding these pitfalls will help you achieve the best possible outcome and prevent further damage to your fabrics.
- Using hot water: Hot water can set the stain, making it more difficult, if not impossible, to remove. Always use lukewarm or cold water when rinsing and washing the stained fabric.
- Applying too much pressure when scraping: Scraping too vigorously can damage the fabric fibers and potentially spread the stain. Use a gentle touch and a dull tool.
- Ignoring the care instructions: Always check the fabric's care label before attempting to remove a stain. Some fabrics require special care, and ignoring the label can lead to irreversible damage.
By avoiding these common errors, you'll significantly increase your chances of successfully removing chapstick stains and protecting your clothing.
Expert Advice for Stubborn Stains
When faced with particularly challenging chapstick stains, reaching out to the professionals or seeking expert advice can make all the difference. They have the expertise and resources to tackle even the most stubborn stains.
Consider consulting professional cleaning services or fabric care experts. These professionals can provide tailored solutions based on the fabric type and severity of the stain. They often have access to specialized stain removers and techniques not available to the average consumer.
Furthermore, research conducted by textile experts underscores the importance of prompt action and proper technique in stain removal. Studies emphasize the critical role of immediate treatment in maximizing the success rate of stain removal. According to a report by the American Cleaning Institute, immediate action can boost the success rate of stain removal by up to 80%.